Newt Tips: How to Properly Install and Align Your Reach-R Prism
If you've invested in a Reach-R prism, you're already ahead of the game. The prism is an incredible tool for extending your shooting capabilities, but like any precision optic, proper installation and alignment are critical. Even the highest-quality prism can't perform to its full potential if it isn't aligned correctly with your rifle scope's reticle.
The good news? The process is straightforward once you understand what you're looking for.
Step 1: Mount the Reach-R Securely
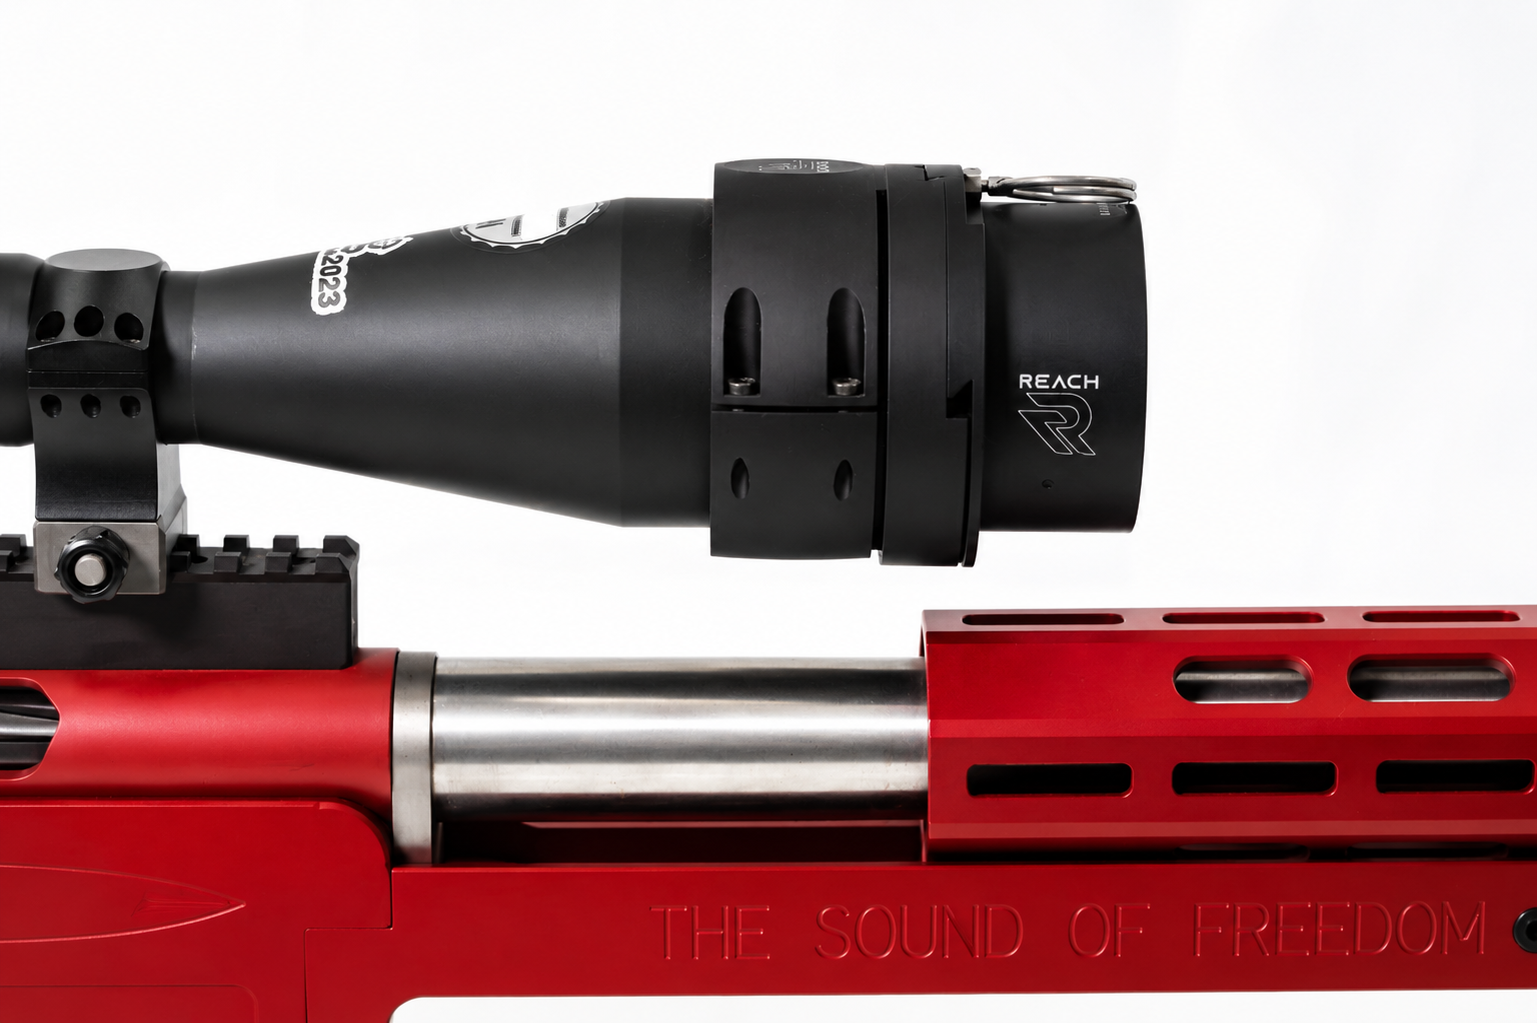
Before worrying about alignment, make sure the Reach-R base is fully prepared to be seated on the bell housing of the optic.
- Verify that all mounting surfaces are clean.
- The base should fit snug to the bell housing but still be able to rotate.
- Confirm that the base is seated fully on the optic.
- You will need a 15 torx bit and a 15 -20 inch lbs torqe wrench.
- I use my Fix it Sticks kit to tighten the screws down on the final step.
Step 2: Set Your Rifle Up Correctly
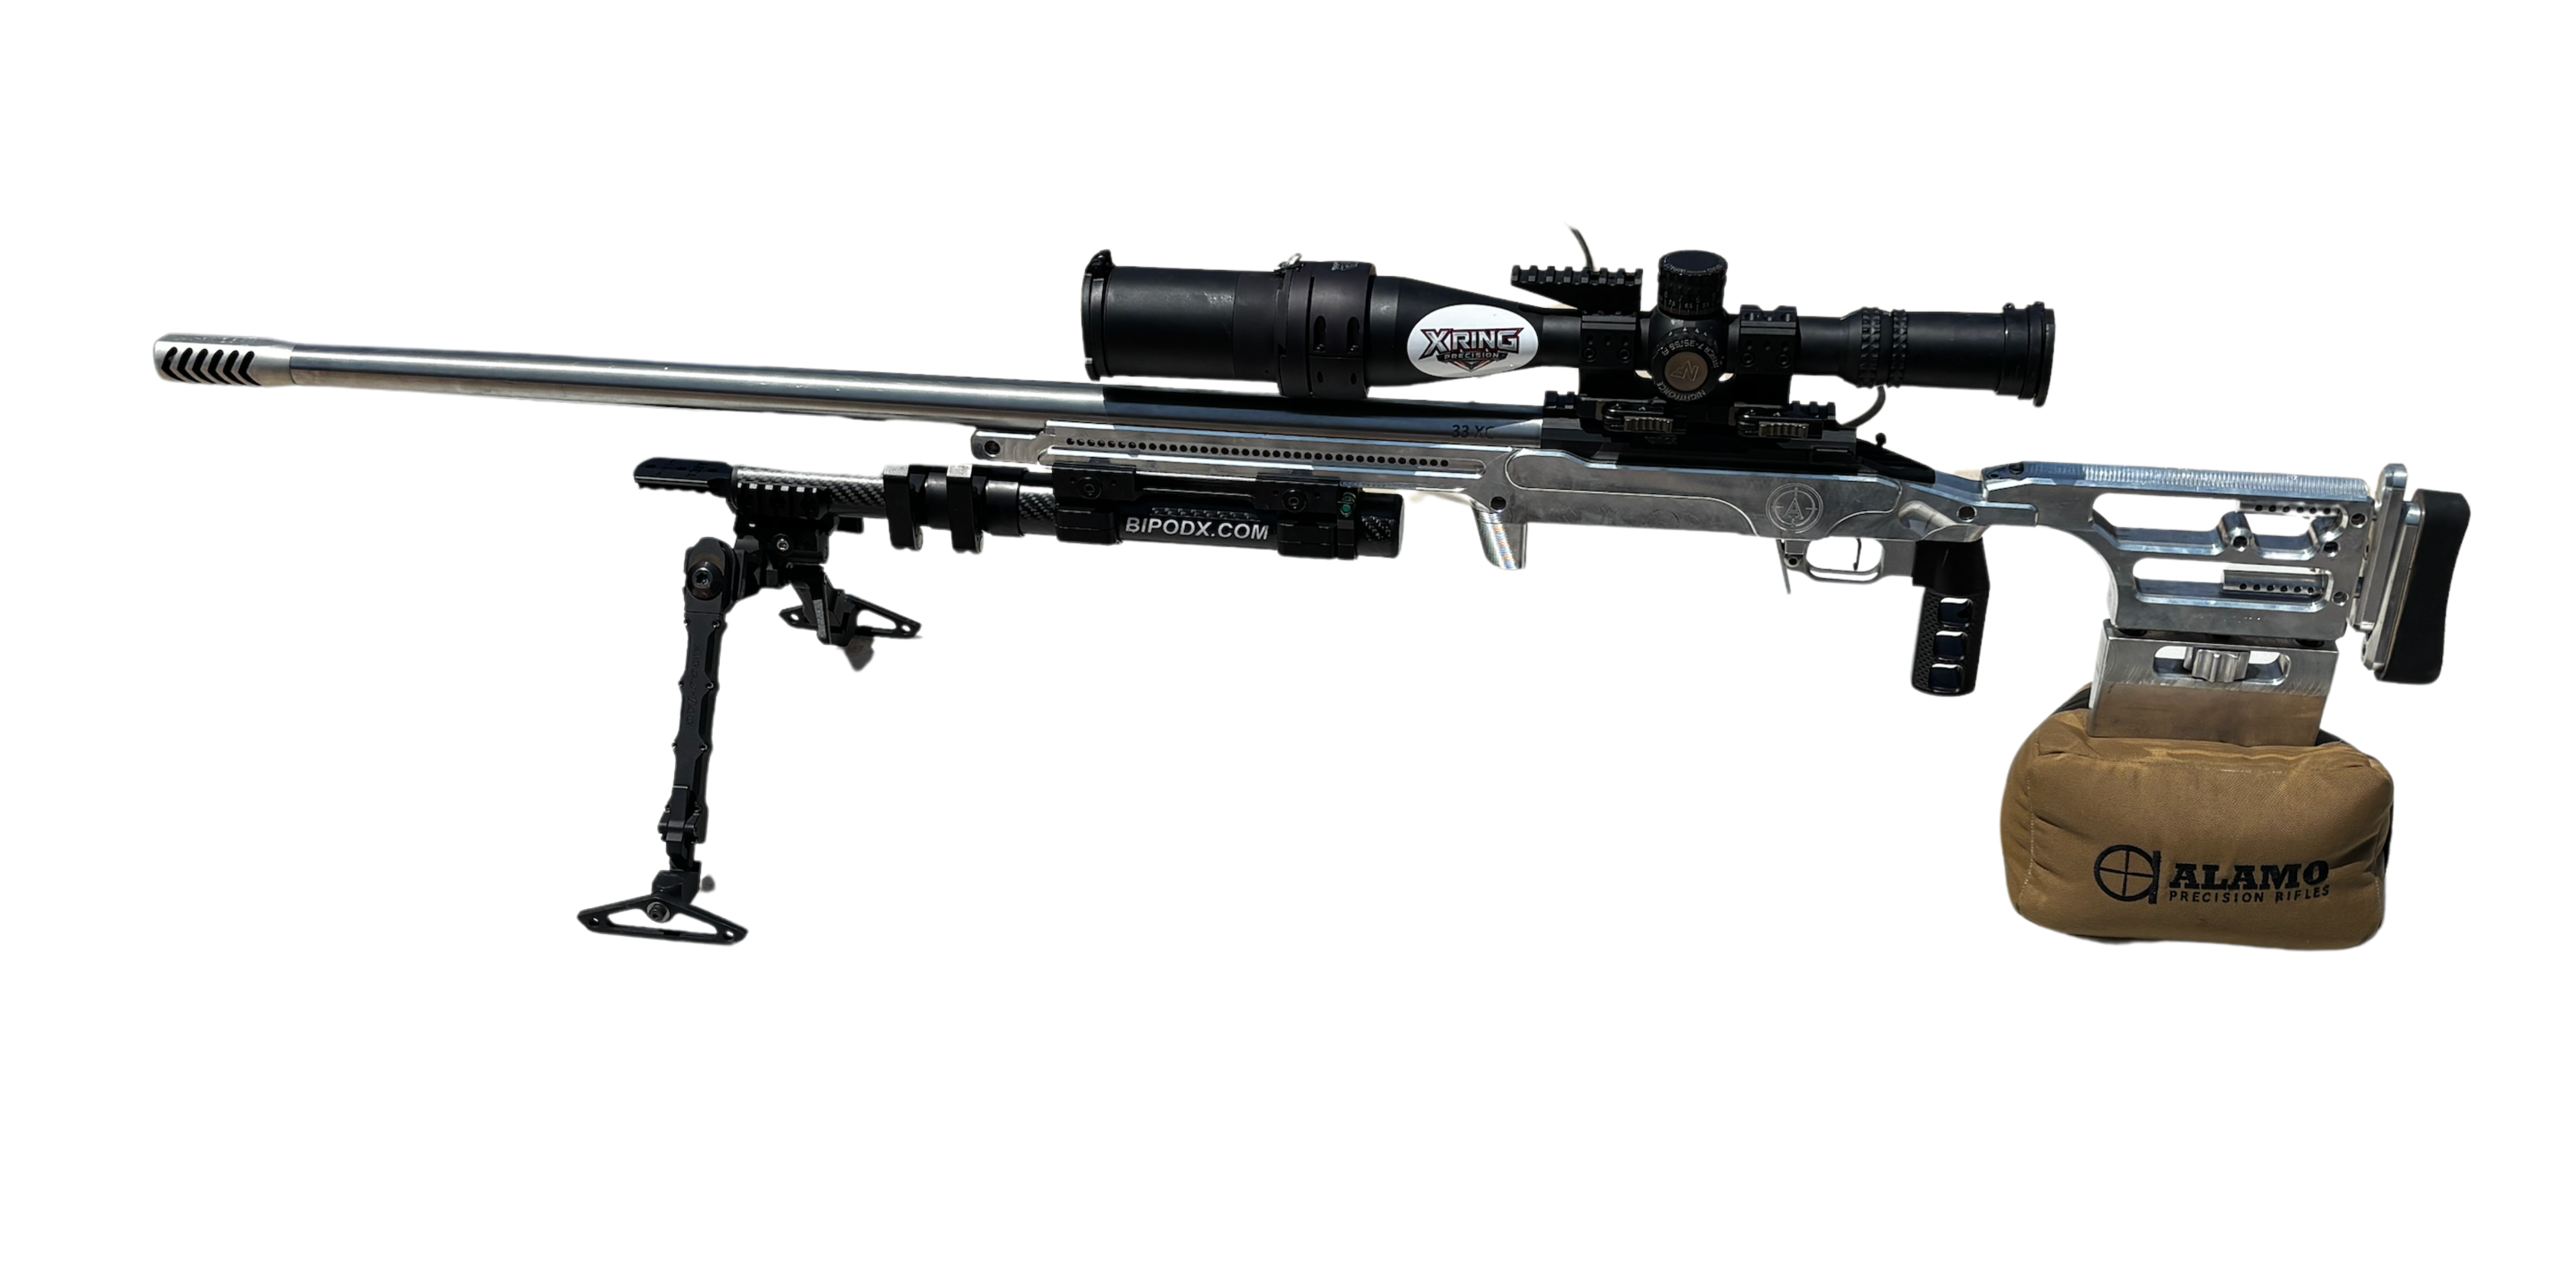
Place the rifle in a stable shooting rest or vise so it cannot move during the alignment process. I have used a sturdy and ridged (Accu-Tac) bipod for this step but it has the slightest amount of movement and will take a little longer to align correctly.
You'll want the rifle unloaded and safely pointing at a well-defined object approximately 50–100 yards away. A target with straight vertical lines works best. You can also use a plumb bob at 30' or more. Best alignment results are attained by using the 50- 100 yards procedure and a structure tall enough to compensate for the elevation of the prism.
The rifle must remain completely stationary while making adjustments. Any movement in the system may cause the prism to not be perfectly aligned and or take longer to align correctly.
Step 3: Level the Rifle
Before rotating the prism, make sure the optic itself is level.
If the optic is canted, causing the reticle to be misaligned you'll end up aligning the prism to the wrong reference, which can introduce errors at longer distances.
Using a small bubble level on the optic helps with initial alignment and makes this step much easier.
Step 4: Look Through Both Optics
With the Reach-R prism installed, look through your rifle scope as you normally would.
You should now see:
- Your rifle scope's reticle
- The image produced through the Reach-R prism
At this point, don't worry if everything looks slightly rotated or offset.
That's completely normal before final alignment.
Step 5: Rotate the Reach-R
This is the most important step.
With the prism installed into the base, slowly rotate the Reach-R unit until the vertical reference you are using perfectly matches the orientation of your rifle scope's reticle. Then take off the prism portion of the Reach-R system without moving the rifle.
You're looking for one thing:
Both before and after removal of the prism the reticles should appear perfectly in line with your reference object.
If the prism is even a few degrees off, you'll notice:
- Vertical lines that aren't truly vertical
- Horizontal references that appear tilted
- This leads to increased difficulty making accurate corrections at distance
Take your time here. Small adjustments make a big difference.
Step 6: Tighten Without Twisting
Once everything is perfectly aligned:
- Hold the prism firmly in position.
- Tighten the mounting screws evenly. Starting out with finger tight and working your way up to 15-20 inch lbs.
- Alternate between screws in an X pattern rather than fully tightening one side first.
This helps prevent the Reach-R from rotating while the screws are being secured.
After tightening all 4 screws to 15-20 inch lbs, double-check the alignment one final time.
A loose mount will cause inconsistent point of impact and make precise alignment impossible.
Step 7: Verify at the Range
Mechanical alignment is only half the job.
Once you're at the range:
- Confirm your rifle's zero.
- Verify that the prism remains aligned under recoil.
- Check that your reticle stays level or plumb throughout your normal shooting position.
If anything shifted during installation, now is the time to correct it.
Common Mistakes
Rushing the Alignment
Most installation problems happen simply because the user rotates the prism "close enough."
Take the extra minute to make it perfect.
Leveling the Prism Instead of the Rifle
Always level the rifle optic first.
The prism should match the rifle's optic—not the table or bench.
Over-Tightening Screws
More torque does not equal better performance.
Over-tightening can damage mounting hardware or cause the prism to eventually come loose.
Ignoring Eye Position
Make sure you're viewing through your rifle scope from your normal shooting position.
Changing your head position while aligning can make everything appear slightly rotated.
Final Thoughts
The Reach-R is designed to provide fast, repeatable performance, but precision starts with installation.
A properly aligned prism ensures that what you see that your rifle scope matches exactly what the optical system is designed to deliver. Spending a few extra minutes during installation will pay dividends every time you head to the range or into the field.
As always, precision isn't about luck—it's about paying attention to the details.
Stay safe, shoot straight, and we'll see you at the range or in the next Newt's Tip.

NEWT
Precision Specialist · X-Ring Precision
Practical precision-shooting notes from the bench — optics, elevation, reloading, and gear that holds up when you measure it.